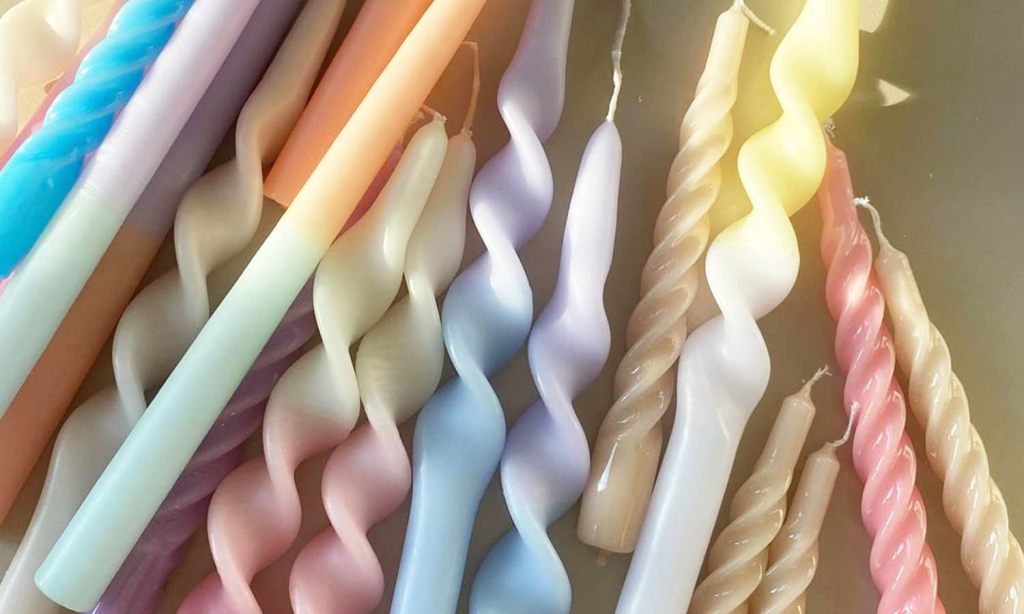
Sculptural candles are so much more than a fleeting iso-trend. The Instagram-worthy decor piece is an instant means of adding personality and an artistic flair to any space, and shows no bounds for their design and composition — with everything from busts and cubes to colour shifting candlesticks.
Seldom burnt, sculptural candles are typically unscented and yet will cost at least double, sometimes 10 times the amount of a regular, upmarket scented candle. It is art after all, which may explain why so few people ever strike a match in their presence.
Thanks to the take-off of the trend, those interested in buying sculptural candles can now find a bunch in varying price points from makers all around the world (find our favourite sculptural candles here).
But, if you felt so inclined to make one yourself, then you’ll be pleased to know one variation of the sculptural candle trend is easily DIYed on the cheap at home, and with only a few tools that you already have.
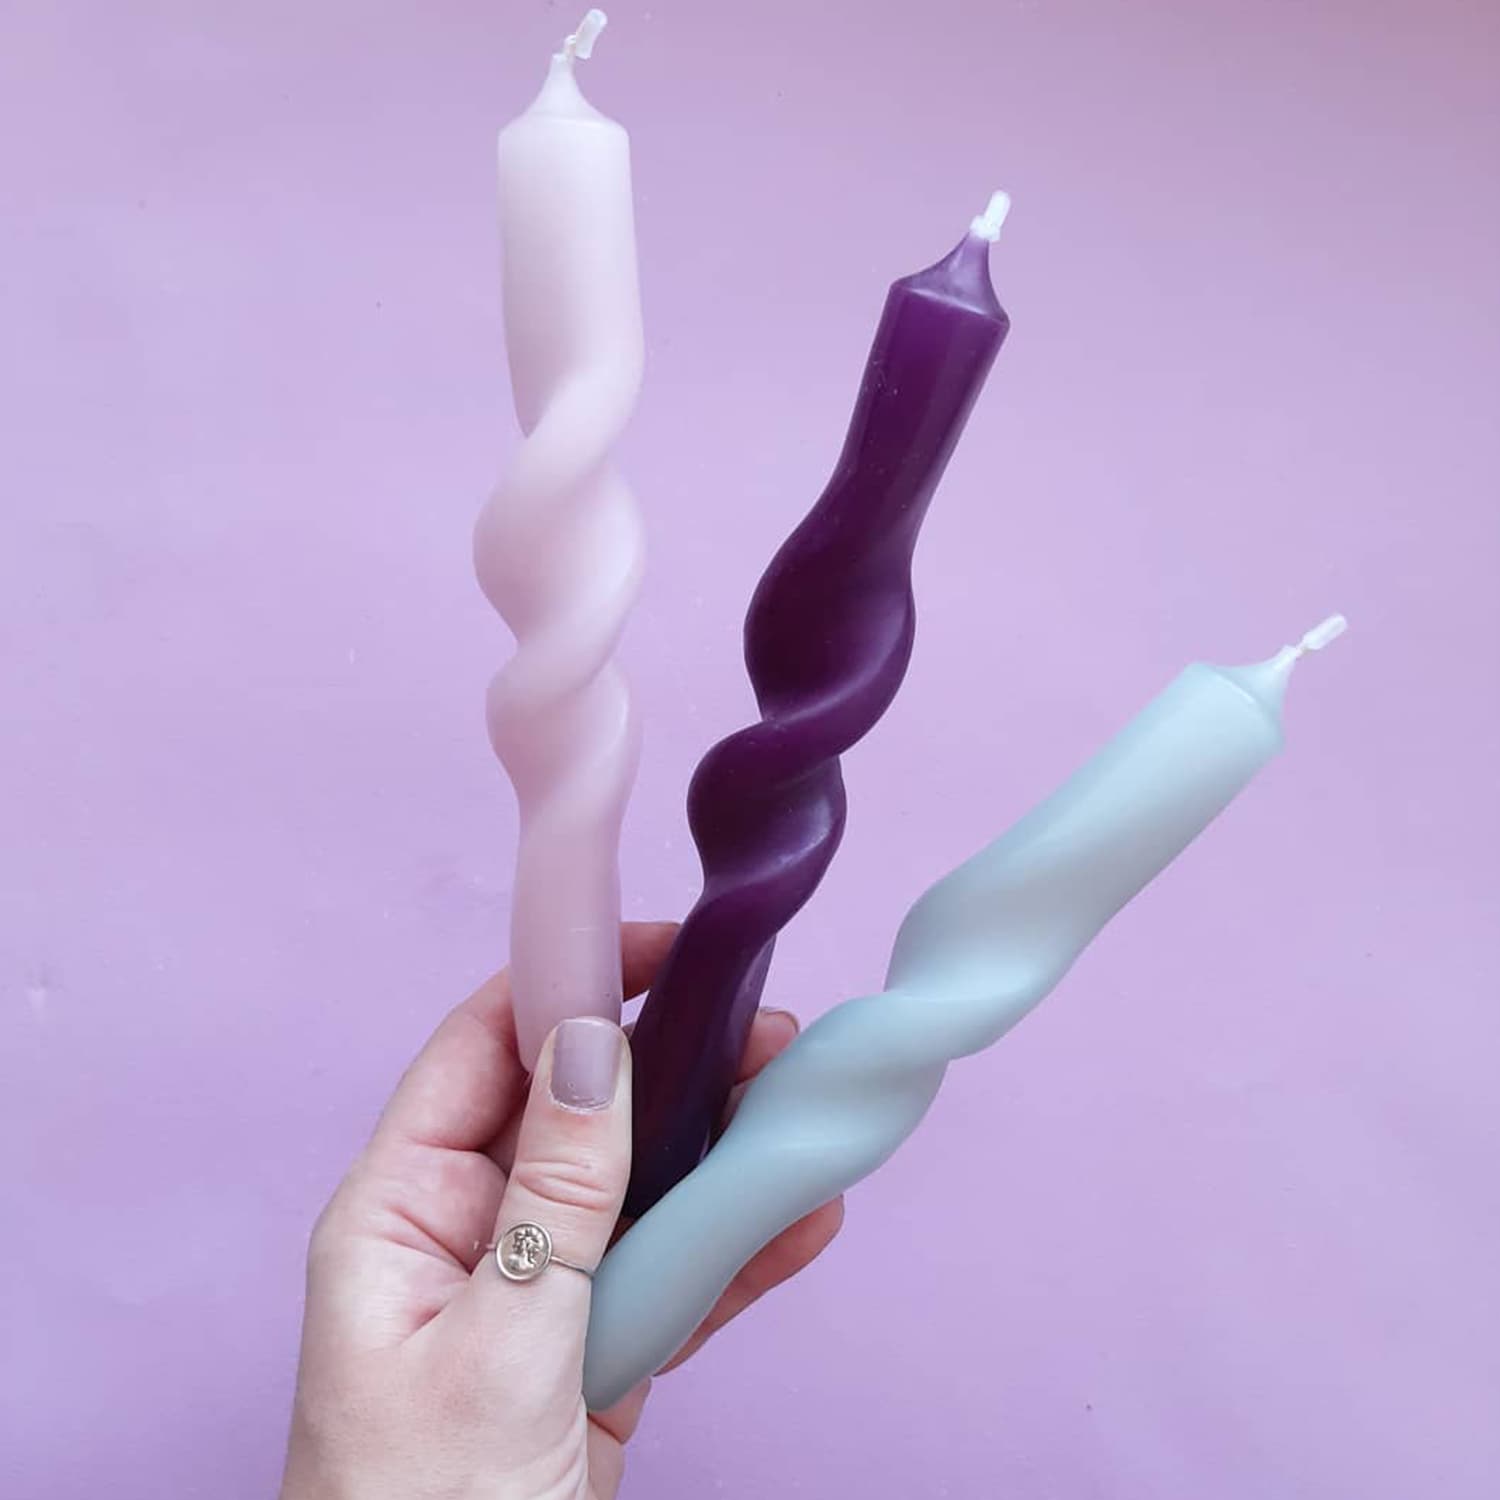
Twist candles are a simple way to introduce your household to the trend. They’re easily made at home from long dinner candles, which can be sourced from online retailers plus supermarkets and craft stores.
When it comes to making your own twisted candles, you’re going to want to use candles made from paraffin wax. Soy candles are unsuitable. If you’re buying online, search for terms like dinner candles, tapered candles or long candles.
Dusk Australia has a small range of paraffin wax tapered dinner candles in pastel shades of blue, pink, yellow and red for $3.99 each. This is our recommendation.
Now the fun part. How to make your own twisted candles!
You will need
- Long dinner candles
- Large pot or tall vase
- Rolling pin (optional)
How to make twisted candles
1. Fill a large pot or tall vase with warm to hot water from the tap. Do not use boiling water or your candles will melt.
2. Place your candles stem-first into the water for 10-15 minutes until the wax is soft and pliable.
3. Remove your candles from the water as you plan to mould them — one by one. The wax will harden quickly so best work speedily. If it hardens too fast, place it back into the water for a few more minutes.
4. Using a rolling pin or the heels of your hand, softly flatten out the middle portion of the candle, just until the shape shifts from rounded to ovular. Be sure to leave the ends untouched and rounded so they can fit into candle-holders.
5. Working quickly and steadily, twist your candle slowly until you’re happy with the end result. Leave to harden completely.