
From sculptural candles and indoor slides to architectural staircases, we’ve seen a number of new interior trends take off in the past few months. Here at The Latch, we make it our mission to keep a close eye on emerging trends and strive to be the first to share them with you — whether it’s bouclé furniture or DIY twisted candles.
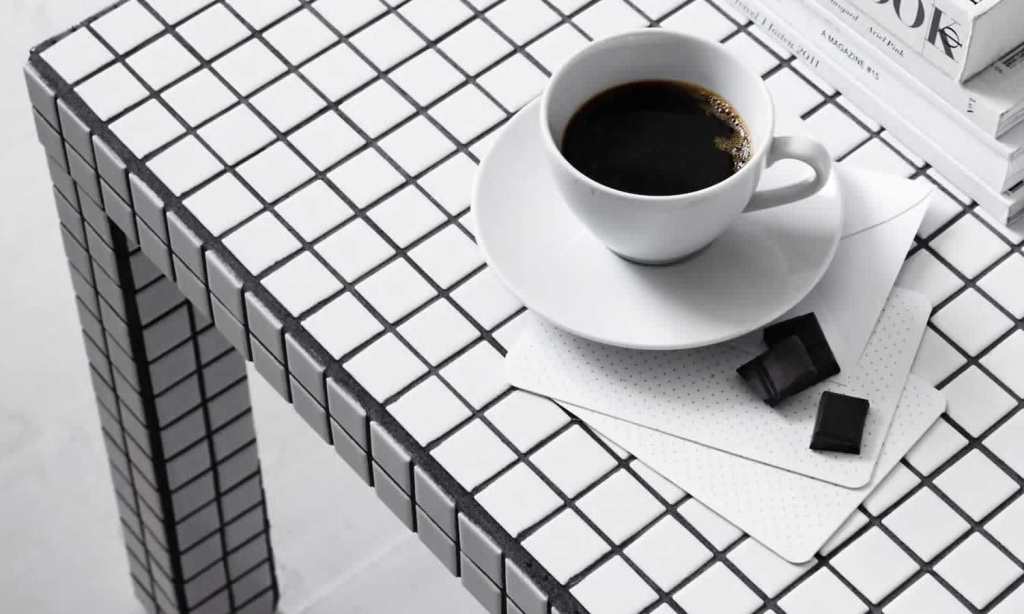
The latest trend to catch our eye appears by the way of the tiled table, and while it makes an eye-catching statement in any space, it’s actually an incredibly easy DIY job done over a weekend.
The tiled table trend is taking off, with a number of interior design companies producing them in on-trend shades like pastel green and blue. Not just an Instagram-worthy backdrop for aesthetic vignettes, the tiled table is also a practical piece in the home.
If sealed correctly, the tiled tables are all but splashproof, meaning they could suit an outdoor arrangement as well as an interior one. But it all comes down to how well you DIY it, so without further ado, here is our guide to creating a DIY tiled table.
Note: you will need an angular table — something with flat surfaces and legs that can easily be adorned with tiles.
How to DIY a tiled table
You will need:
- An angular table (the $12.99 IKEA Lack Side Table is a good option)
- Tile adhesive
- Adhesive spreader
- Unsanded grout (any colour)
- Grout float
- Sponge and bucket
- 306 x 306mm tile sheets
How to make a tiled table:
1. Measure your tile sheets out on a clean, fully assembled table. Cut your sheets to size according to your table measurements. Measuring at the start will ensure you do not run out of tiles.
2. Using your adhesive and the adhesive spreader, spread a thin layer across the surface of the table. Work in sections to ensure the adhesive is sticky when you lay your tiles. Allow the fully tiled table to dry overnight.
3. In a large bucket, mix up your grout according to the instructions on the pack to a peanut butter-like consistency. You can use any colour of your choosing for a monochrome or contrast finish.
4. Using the grout float, apply your grout thoroughly onto the surface of your table. Work in sections to ensure even coverage and no gaps in your grout. Allow to dry for 15-30 minutes.
5. Using a moist sponge and a bucket of warm water, run your sponge along the tiles to lift messy grout reside from the table surface. Swap your water out regularly to avoid smearing the grout. Once clean, leave it to dry overnight or up to three days.
6. Take an all-purpose cleaner and wipe your table down to remove dust or any streaks left behind from the grouting process.
Read more stories from The Latch and subscribe to our email newsletter.