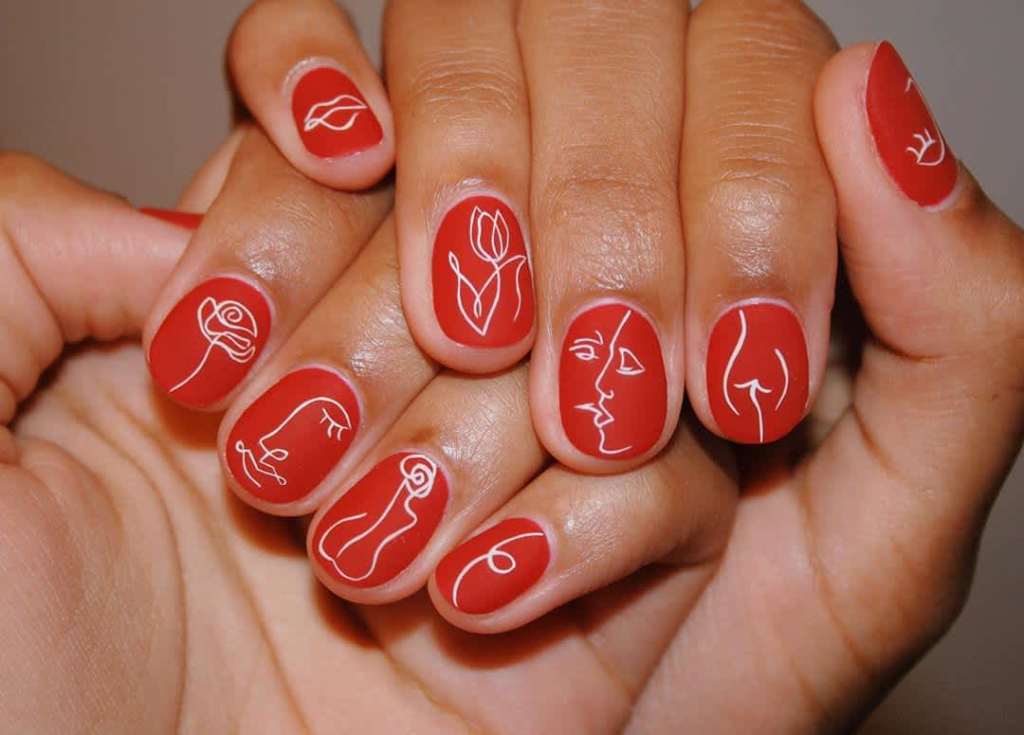
We all know that at-home manicures are a great way of saving time and money, but oftentimes, a DIY job can look way worse than what you’d get done at a salon.
Regardless of how steady your hand is, it always seems like the nail polish chips within a few days of painting your nails yourself. While it’s easy to use this as reason enough to make another gratuitous trip to the nail salon, why not try and improve your at-home skills so that you don’t have to?
Keep reading for a few tips that will make your DIY french tips just as resilient as salon-painted nails. While it does require a few extra steps than simply swiping on lacquer, these tricks will keep your nails looking nicer longer, which means less time spent painting them.
The vinegar trick
Just like every good hack, this one went viral on Pinterest — and for good reason: It actually works. After shaping your nails and before applying colour, swipe some white vinegar to make the polish last longer than it would otherwise.
Simply dip a cotton ball in vinegar and sweep it on before applying a base coat, polish and topcoat.
Always apply a base coat
While it may seem like an unnecessary extra step, this is actually one of the most important factors in creating a long-lasting home manicure. While base coats often provide extra strength and nutrients to your nails, they also help the colour adhere to your nails better.
Better adherence means longer-lasting nails and fewer chips; so even though it may cost you a few minutes at the outset, this tip will save you time in the long run.
Use a non-chip top coat
It might go without saying but a non-chip topcoat will extend the life of your manicure by preventing polish from flaking off prematurely. Before you apply, however, make sure your nails are completely dry, not just on top, or you’ll be left with a gooey mess.
There are a number of options out there, but going for a topcoat that’s specifically chip-resistant will help your nails last longest.
Ice bath
When everything else is done, dip your nails in a bowl of ice water for three minutes to ensure they’re completely dry before continuing on with your day. It might sound uncomfortable, but doing so will ensure your nails are fully solidified, rather than simply dry on the top layer.
This can be especially common when using a topcoat which may dry faster, so it’s three minutes well worth it. Put on your favourite song, and by the time it’s done your nails will be too.
Next time you’re considering dropping a fifty at the nail salon just for the sake of a long-lasting mani, remember these tips and reevaluate. Once you’re in the habit of painting your nails yourself, you won’t look back: It’s cheaper, more convenient, and more customisable as well. Plus, using these tricks will make your at-home job look equally as good (if not better) than what you’d pay a professional to do.


